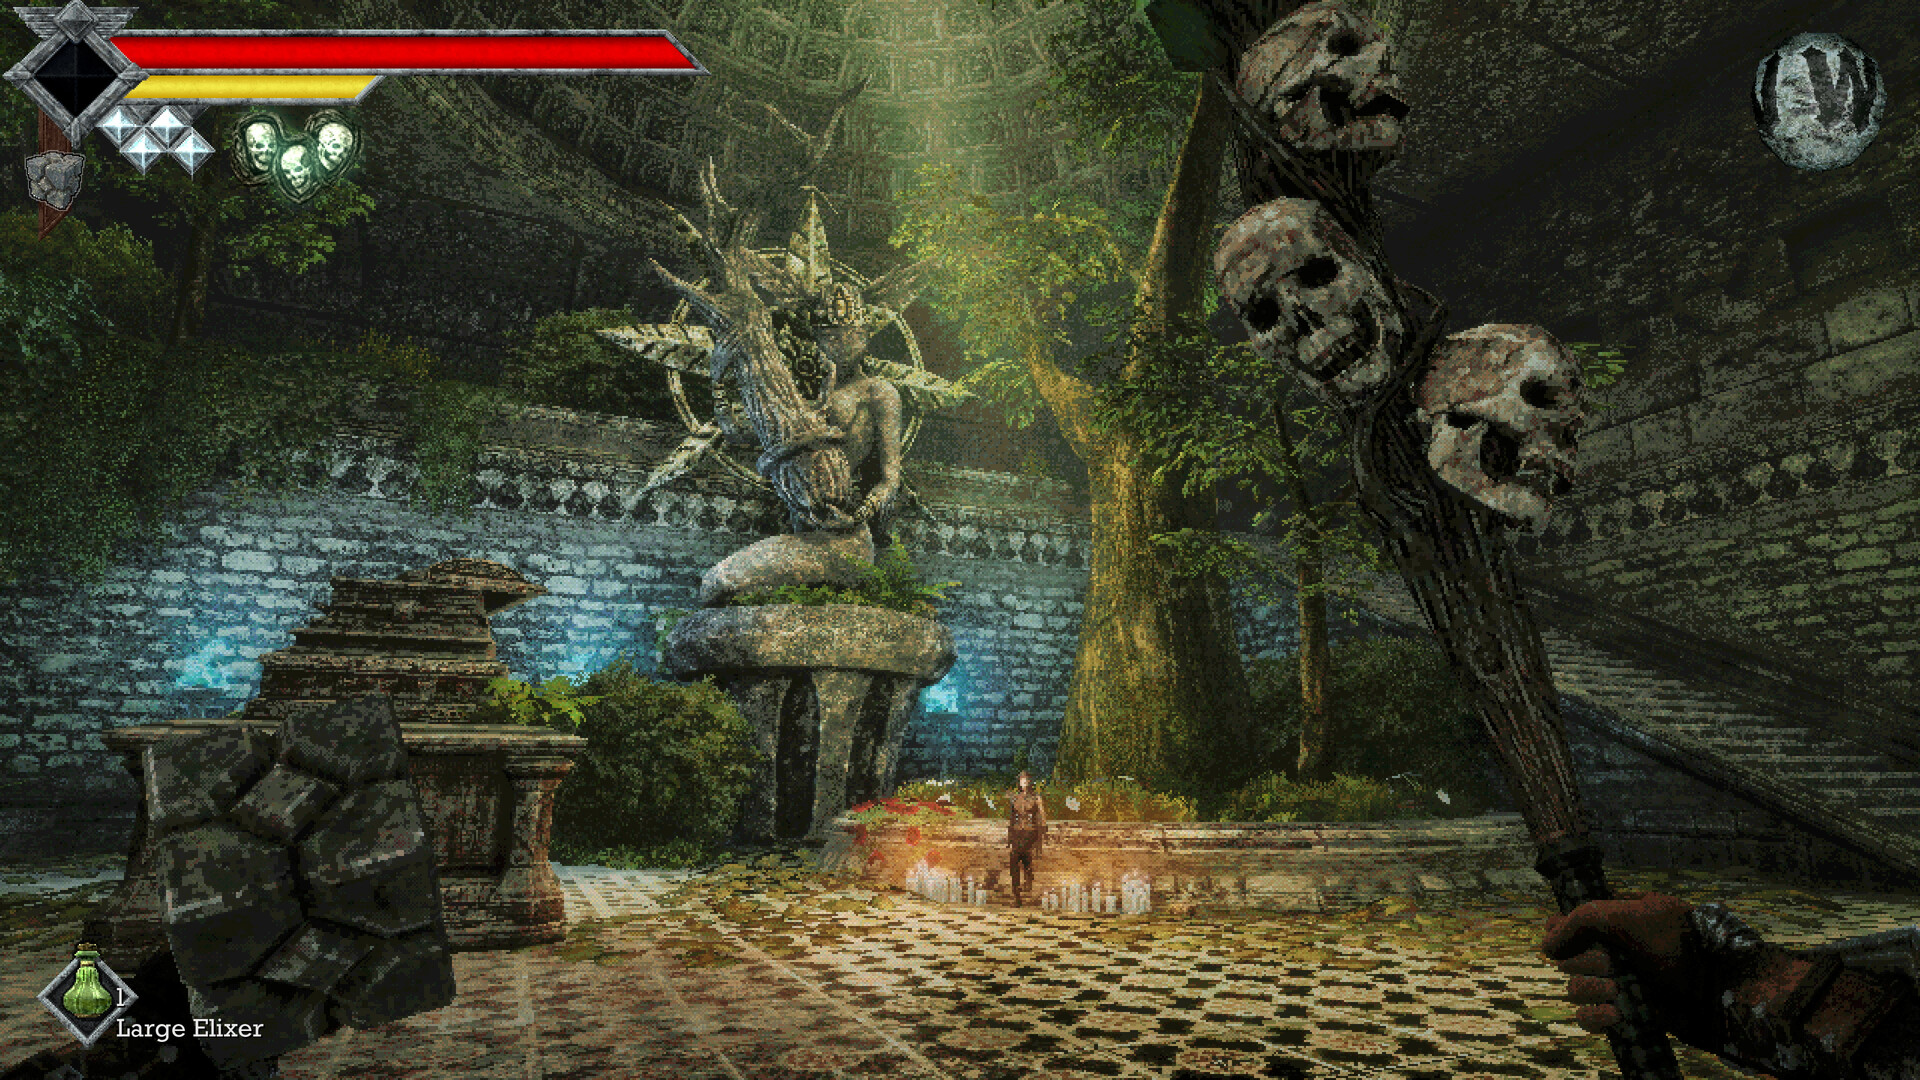
Which Weapons to Use First
Use the Rusted Spear for its retreating thrust, keep the Wooden Club for Impact damage, and collect Holy Sword Endu to unlock Wind Dash. Get rechargeable Throwing Daggers from the Dagger Belt near the shipwreck, then collect the Azure Torch at the Tower of Knowledge approach.
Collect Your Early Weapon Upgrades
- Accept the Rusted Short Sword from Commander Ekonta. Search the ruined tower chest near the Knight's Encampment Crystal Monument for the Rusted Spear, whose secondary attack stabs while moving you backward.
- Follow the coast toward the shipwreck and collect the Dagger Belt from the offshore rock. Equip its throwing daggers, then hit the diamond-shaped switch beside the blocked Crypt entrance to open the passage.
- Collect the Wooden Club in the Crypt and retrieve the Endu Shrine Gate Key from the lower burial chamber. Return to a Crystal Monument and save before approaching the shrine.
- Unlock the Shrine of Endu and use the Club's Impact damage against the Shrine Guardian. Defeat the Guardian, then collect Holy Sword Endu inside the shrine to gain Wind Dash.
- Take the Guardian's Stone Duck Figurine to an activated Crystal Monument to reach Umbada's Trading Outpost. Consider extra throwing charges if ranged capacity is your problem, or the Morning Star for Impact and Pierce coverage.
- Head east toward the Tower of Knowledge and take the Azure Torch from the gargoyle statue at its entrance. Later, with two Wind Dashes available, cross the western broken bridge and collect the Trident in the exterior Obmuer Temple ruins.
Main Weapons and Locations (Equipment Spoilers)
| Weapon | Damage, ability or reward | How to get it |
|---|---|---|
| Rusted Short Sword | Slash. | Given by Commander Ekonta at the beginning. |
| Rusted Spear | Pierce; Power 5; fast; retreating stab. | Ruined tower chest near Knight's Encampment. |
| Wooden Club | Impact; useful against the Shrine Guardian. | Collect it in the Crypt. |
| Holy Sword Endu | Slash; unlocks Wind Dash. | Endu Shrine, after defeating the Shrine Guardian. |
| Azure Torch | Azure Flame; stores two recharging fireballs. | Gargoyle statue at the Tower of Knowledge entrance. |
| Trident | Pierce; Power 8; average speed; retreating stab. | Outside the Obmuer Temple entrance. |
| Pandora Blade | Optional weapon with a special technique. | Near the Crypt's Shrine Key chamber, interact with the wall section missing a brazier. |
| Common Spear | Pierce. | Merchant: 10 Ancient Coins. |
| Cestus | Impact. | Merchant: 20 Ancient Coins. |
| Hand Axe | Slash / Impact. | Merchant: 20 Ancient Coins. |
| Morning Star | Impact / Pierce. | Merchant: 20 Ancient Coins. |
| Silver Needle | Impact. | Merchant: 20 Ancient Coins. |
| Diamond Blade | Slash / Impact; Power 16; slow. | Merchant: 25 Ancient Coins. |
| Spiked Buckler | Impact / Pierce; parry and counterattack. | Merchant: 33 Ancient Coins. |
| Occult Warhammer | Impact; ability recharges while equipped. | Merchant: 30 Ancient Coins. |
| Vampiric Scimitar | Slash / Physical; normal attacks drain health. | Merchant: 42 Ancient Coins. |
| Splash Hammer | Impact. | Chest in Obmuer Temple. |
| Engraved Halberd | Pierce / Slash; Power 11; average speed. | Chest behind Obmuer Temple's three-Trident-Key gate. |
| Occult Spear | Pierce; builds charges by dealing damage. | Chest in the Tower of Knowledge. |
| Wind Rapier | Pierce / Slash. | Chest in the Tower of Knowledge. |
| Skull Rod | Impact / Physical; ability recharges while equipped. | Chest atop the Tower after defeating the Necronomicon and clearing the flesh. |
| Blood Moon | Impact. | Chest in Deimpo Mausoleum. |
| Grave Reaper | Slash; builds charges by dealing damage. | Chest in Deimpo Mausoleum. |
| Melting Moon | Pierce / Poison; ability recharges while equipped. | Held by a purple skeleton in Deimpo Mausoleum. |
| Jigeki's Serpent Thrust | Pierce; charged poison strike can briefly stun. | Evolve the Rusted Spear. |
| Soul Bound Endu | Slash; retains Wind Dash utility. | Evolve Holy Sword Endu. |
| True Holy Sword Akunra | Unlocks Blade Bathed in Holy Light. | Forge the sword. |
| Okbujo's Judgement | Obtaining it unlocks Most Spiritual Sword. | — |
Throwing Weapon Locations (Equipment Spoilers)
Throwing weapons use separate equipment slots from melee weapons. You can equip up to three types, and their charges replenish over time. After finding a new type, check the merchant for additional charges to increase your available attacks between recharges.
| Weapon | Benefit | How to get it |
|---|---|---|
| Throwing Dagger | Fast ranged attack; later receives an Acid enhancement. | Dagger Belt near the shipwreck. |
| Chakram | Returns like a boomerang. | Chest outside Obmuer Temple. |
| Piercing Needle | Penetrates multiple targets. | Chest after the Sacred Cistern in Obmuer Temple. |
| Occult Knife | Homing projectile. | Chest in the Tower of Knowledge. |
| Throwing Axe | High Power; Slash / Impact. | Chest in Deimpo Mausoleum. |
Check Your Power Meter Before Replacing a Weapon
A full Power Meter lets melee attacks deal their full damage, while an empty meter makes them very weak. Running drains the meter and prevents it recovering until you stop. Let it refill before comparing weapons so poor timing does not disguise a useful upgrade.
Hold the primary attack button to charge a stronger strike; the meter turns blue as it charges. While holding that charge, you cannot run, Wind Dash or throw weapons. Choose a safe opening rather than charging when you still need those escape or ranged options.
Weapon Levels and Evolutions
Match Your Loadout to Enemy Resistances
Carry the Rusted Short Sword, Rusted Spear and Wooden Club early to cover Slash, Pierce and Impact. Consult the Bestiary when an enemy resists your usual attack. Check the item's damage type rather than assuming a thrusting sword animation means Pierce.
Choose the Trident for higher starting Power, or keep the faster Rusted Spear if you value its evolution. Against Slash-resistant enemies, consider the Morning Star's Impact and Pierce coverage. For tougher melee exchanges, the Spiked Buckler adds a parry and counterattack.
Endu, Azure Torch and Spiked Buckler form a flexible exploration loadout. The torch's fireballs recharge while it remains equipped, even when another weapon is active. Wind Dash also remains available while using another melee weapon, letting you choose your combat weapon around the encounter.