The Opening Progression Route
To progress in Queen's Domain, collect the Dagger Belt, retrieve the Endu Shrine Gate Key from the Crypt, and defeat the Shrine Guardian for Holy Sword Endu. Then increase your Wind Dashes, enter Obmuer Temple, and light the island Gargoyle beacons to unlock the Tower of Knowledge.
Spoilers: From the Beach to the Crypt Key
- Speak to Commander Ekonta at the starting camp to receive the Rusted Sword, your opening melee weapon.
- Break the wooden barricade with your sword to open the path out of camp. Repeated attacks clear the planks.
- Make a manual save at the nearby Crystal Monument before continuing along the coast.
- Collect the Dagger Belt from the small offshore rocks near the shipwreck. Its returning daggers provide ranged attacks with replenishing charges.
- Throw a dagger at the diamond-shaped switch beside the blocked Crypt entrance to open the passage into the burial chambers.
- Collect the Club inside the Crypt. Its Impact damage gives you a useful weapon for the Shrine Guardian.
- Descend the Crypt stairs to the lower chamber containing the Endu Shrine Gate Key. This is the key for the shrine's locked gate.
- Ride the Crypt's return elevator toward the earlier island area, avoiding another full trip through the burial route.
Spoilers: Defeat the Shrine Guardian and Claim Endu
Equip the Club for the Guardian's Impact weakness. Wind Dash becomes available after this fight, so rely on ordinary movement here. Keep the battle in open space so the arena's rocks do not block your escape.
- Save manually at a Crystal Monument before approaching the shrine, preserving the key and equipment collected during your Crypt trip.
- Unlock the Shrine of Endu with the Endu Shrine Gate Key to reach the Guardian's arena.
- Draw out a cleaver attack while keeping room to move around the Guardian, creating an opening after its swing.
- Strike during the Guardian's recovery with a charged Club attack. A recovered power gauge makes your attacks more effective.
- Retreat after attacking so your power gauge can recover before the next exchange. Repeat the attack-and-retreat rhythm through the fight.
- Collect the Stone Duck Figurine after the Guardian falls; it enables the merchant connection at a Crystal Monument.
- Take Holy Sword Endu from inside the shrine. Its installed Wind Gem gives you a single Wind Dash.
- Use the Stone Duck Figurine at an activated Crystal Monument to reach Umbada's Trading Outpost.
Spoilers: Prepare for the Western Bridge
- Cross the eastern bridge using Endu's initial Wind Dash to reach the Tower of Knowledge approach.
- Collect the Azure Torch held by a Gargoyle statue at the Tower entrance. Its flame activates the island Gargoyle beacons.
- Return to the elevated Crystal Monument above the opening region for the second Wind Gem. This gives you two Wind Dashes.
- Light the first two accessible island Gargoyle beacons with the Azure Torch. The remaining beacon becomes reachable after Dagoom in Obmuer Temple.
- Cross the broken western bridge with two consecutive Wind Dashes to reach the flooded ruins and the Crystal Monument beyond the gap.
Spoilers: Open Obmuer Temple and Reach Dagoom
- Collect the Triangular Slate east of the circular red-fish pool, on the raised rock guarded by skeletons.
- Climb the broken wall by the collapsed columns west of that pickup to reach another slate on elevated stonework.
- Drop below the upper Trident pickup area toward the western corner to find the slate beneath the main path.
- Wind Dash to the isolated broken platform or column in the middle of the ruins for the remaining slate.
- Place all four Triangular Slates at the sealed door at the back of the ruins to enter Obmuer Temple.
- Find the first Trident Key in the lower watery section near the entrance; it opens the route deeper into the temple.
- Explore the passage reached by Wind Dashing into the lower wall opening beneath the large pit. This route leads to another Trident Key and the third Wind Gem.
- Cross the large pit with three Wind Dashes after collecting the Wind Gem, opening the way beyond this movement obstacle.
- Defeat all three Royal Guard sub-bosses in the cavern beyond the Trident Key save-point room to open Dagoom's door.
- Defeat Dagoom with ranged attacks when poison and currents make close combat unsafe. This opens the exit route toward the remaining island Gargoyle.
Spoilers: Clear the Tower of Knowledge
- Ignite the Gargoyle along Obmuer Temple's exit route with the Azure Torch to complete the island beacon sequence.
- Return to the Tower of Knowledge once all three island Gargoyle beacons are lit and the bell has rung three times.
- Light numbered Gargoyles 3 and 7 on the Tower's balcony with the Azure Torch to open the nearby interior passage.
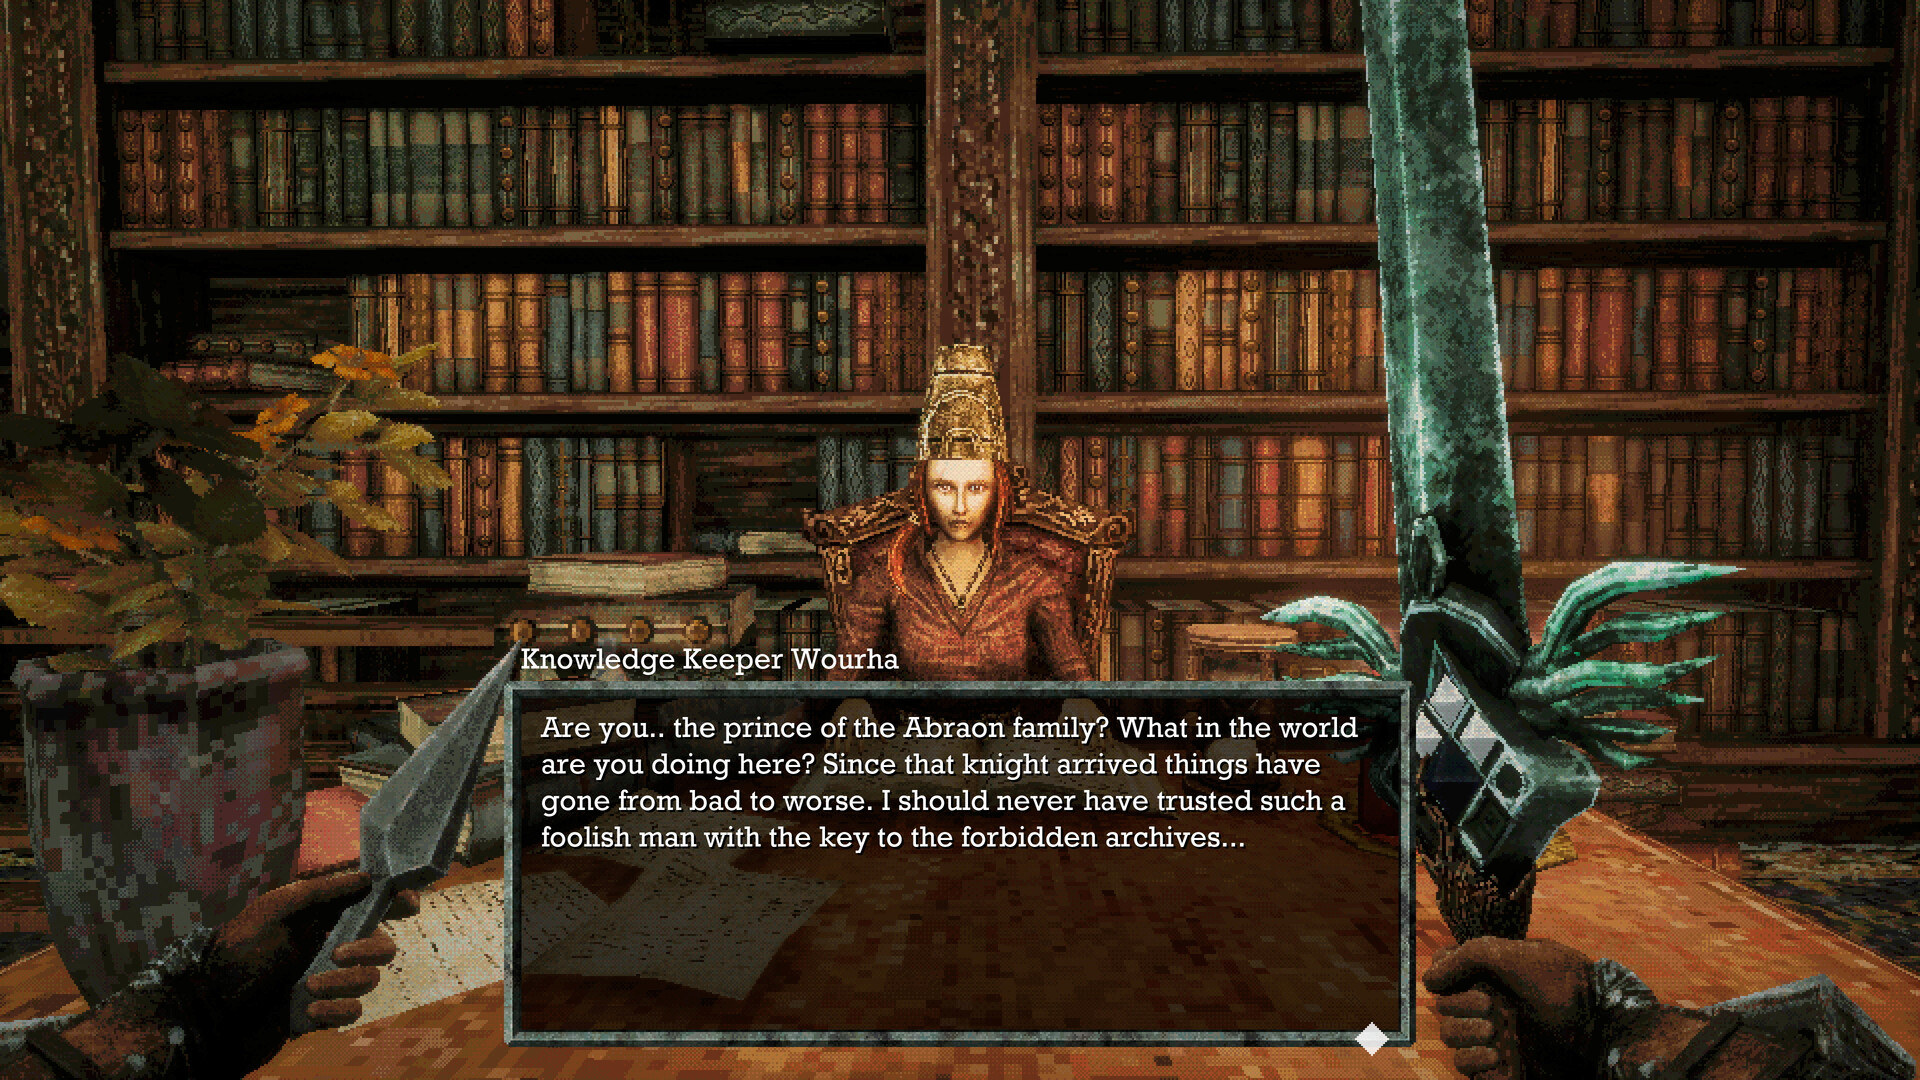
- Climb the large staircase near Knowledge Keeper Wourha's study to collect the Storm Gem in the upper Tower.
- Wind Dash toward the lower opening or ledge beneath the Storm Gem platform to reach the staircase switch.
- Activate the switch to rotate the staircase, creating a route through another part of the upper Tower.
- Follow the repositioned staircase to the elevator accessible along the new route.
- Ride the elevator down to the area containing Budaen, who holds the key needed for the Archives.
- Speak with Budaen to receive the Forbidden Archives Key, unlocking your next destination.
- Open the Forbidden Archives doors near the Storm Gem with the key to reach the route toward the Necronomicon.
- Fight the Necronomicon from throwing distance, using brief melee openings when the book drops. Defeating it provides the Acid Vial.
- Collect the Acid Vial after the fight to enhance your basic throwing daggers automatically; there is no need to equip the vial.
- Destroy the fleshy obstruction near Budaen's area with your acid-enhanced basic daggers to open the passage toward Deimpo Mausoleum.
Return Routes When You Reach a Dead End
Leave the enormous sealed Deimpo Mausoleum entrance beside the starting camp for later. The Crypt and Shrine of Endu provide the route to your opening movement ability. When a distant platform remains out of reach, check your available Wind Dashes before repeating the jump.
Use the Crypt elevator or the diamond-switch door leading back to the first Crystal Monument when retracing the opening area. A Travel Crystal Fragment returns you to the last monument where you saved, while discovered Wing Altars provide travel connections. Save manually after important pickups; resting restores your condition but does not replace saving.